fabricologist

fabricologist

Sunday, January 28, 2018

Penny Sampler is Finished!

I finished my Penny Sampler quilt last week. I finished the binding on Wednesday and washed it and photographed it on Thursday, hoping to post it on Friday to link up with Amanda Jean, but instead, I went to Torrey Pines to watch the golf tournament with my husband, so today will have to do. I can link up later in the week to get it more "out there".
First, a full front picture. This is the whole thing. I love the way it turned out, very bright, which is totally my style. I loved this whole project. It was the first of its kind that I had taken on. The size is a twin bed size, but I don't have one to put it on, so I will just find other ways to stare at it and enjoy it. Now for some close ups of some of the components.
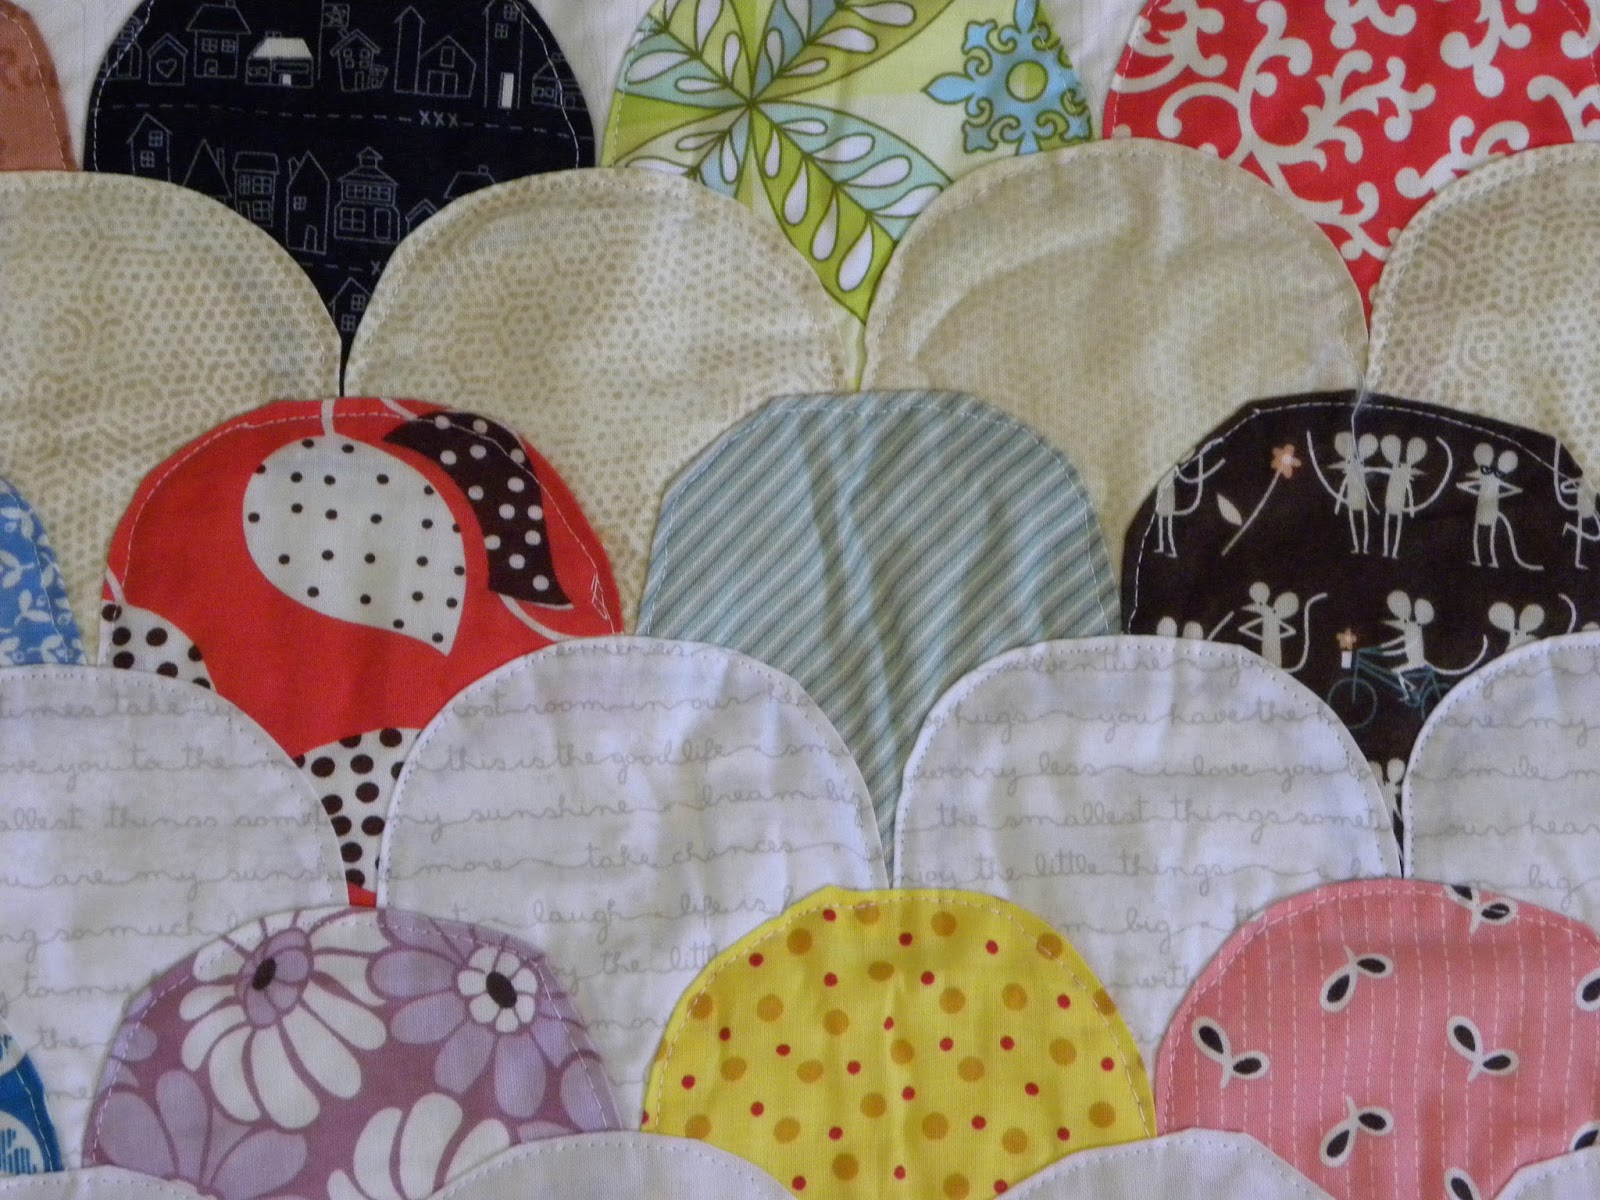
 I quilted most of it with Pearl cotton number 12. I used a lot of different colors and tried to let each block lead me in how to quilt it.

 But I also stitched in the ditch on my machine in between some of the large sections to help anchor it before I began the hand quilting. This was a great idea and it made for a very stable quilt top for hand quilting.

 The hand quilting added such great texture and interest to the piece. I don't know how I would have quilted it on a machine. There were just so many components to this quilt.
 This is one of my favorite sections. It is all paper pieced, which is a technique I took the class to learn. I am so happy that I did. Not that I am now a big fan of paper piecing, but I can do it!

 Here it is stretched out on my queen size bed so you can see how big it truly is. So much loveliness.
 These loops down this one piece are the only other machine quilting on here. I felt that this was the best solution for this section since it is one whole piece of fabric, even though it mimics a pieced section.

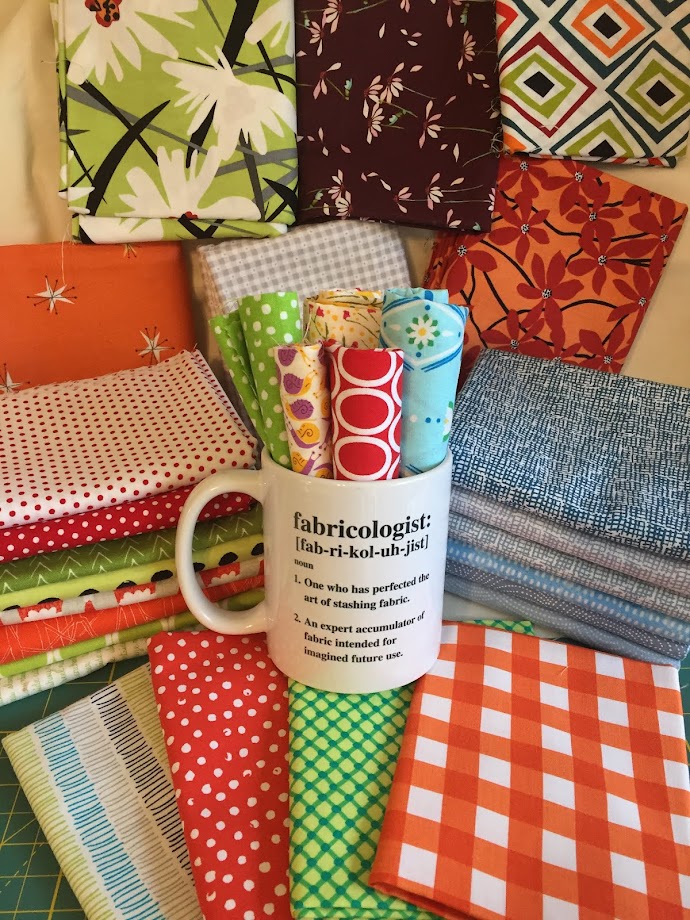
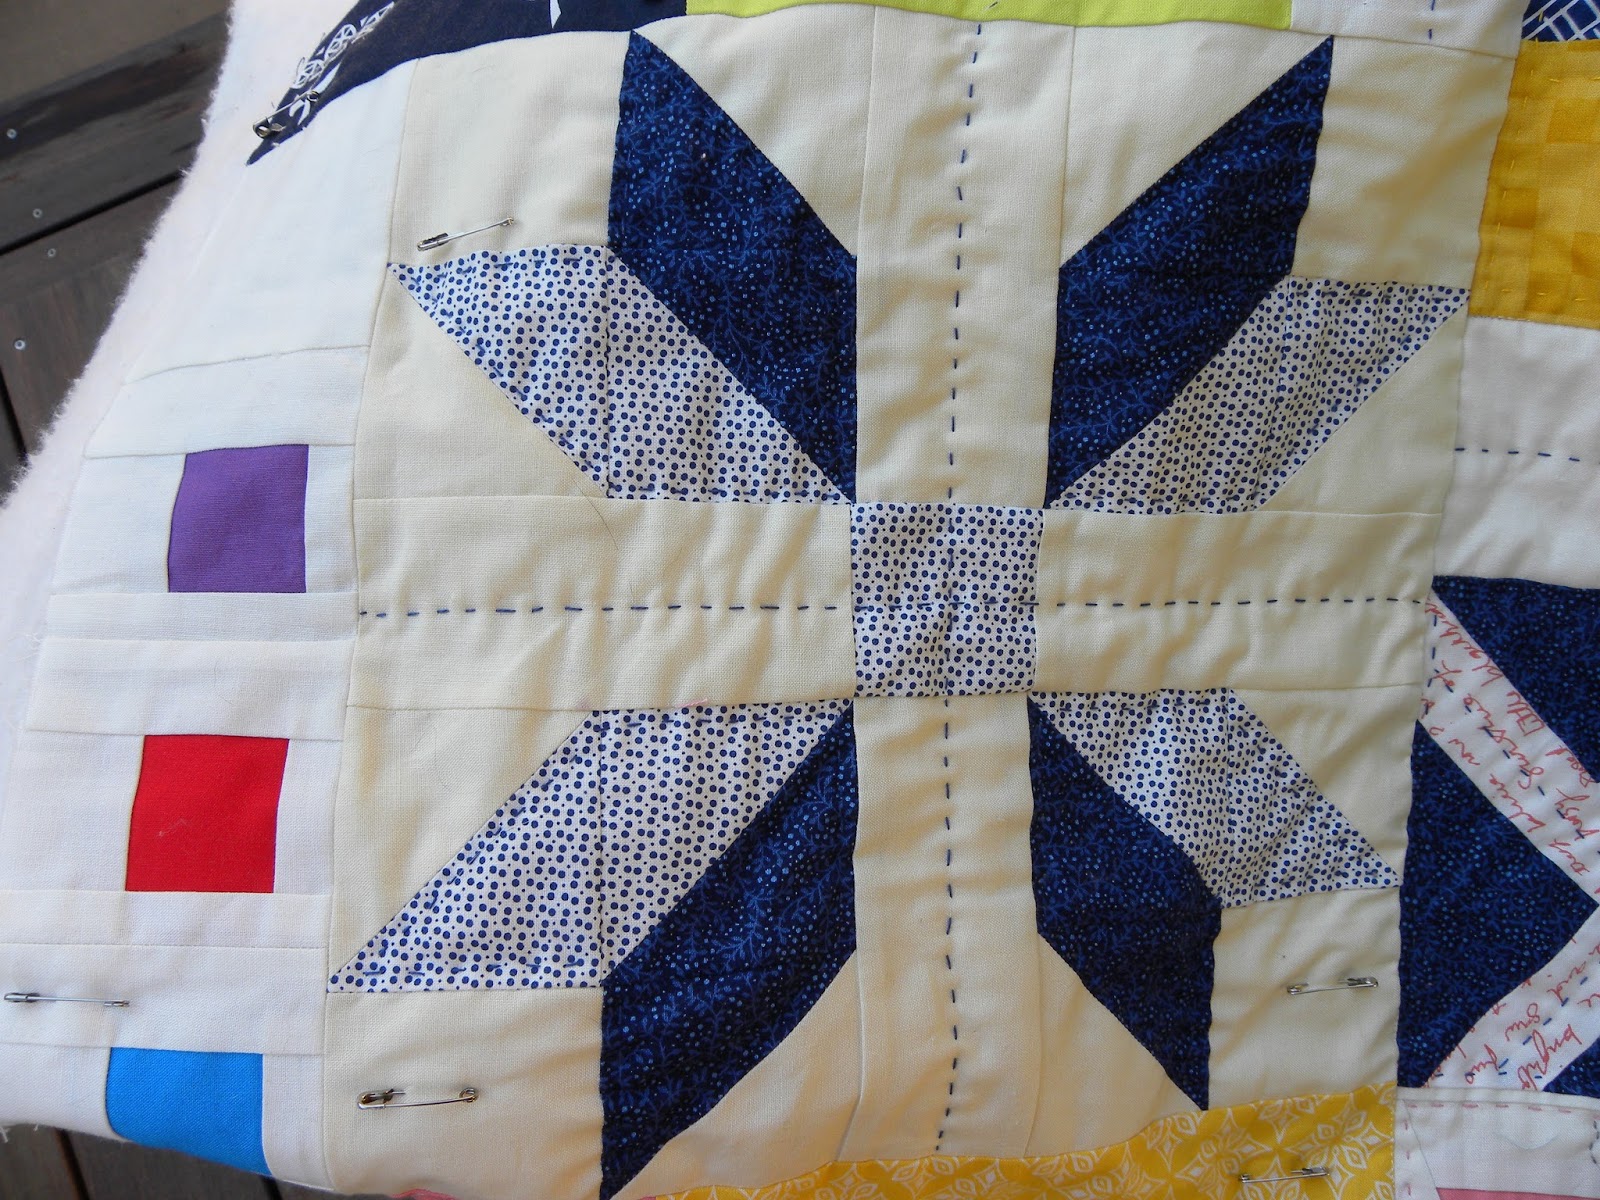
 I had picked out all the fabrics in the beginning and kept them in a box, as recommended. The one thing I knew I wanted to do for sure since the very beginning was this bright green section with the blue and white fabric diamonds. I am sooooo happy with it. It worked out just as I imagined.


The quilting of diamonds to mimic the hanging diamonds is another favorite element for me. I tried to balance the needs of the sections with enough quilting to keep everything stabilized.

 This little area is another that just spoke to me about the way it needed quilting. I love the texture here since it has been washed and dried.
                   Here is the entire front once again.
And the back. I have been trying to find a way to use these fabrics up since I bought them. The Jeni Baker Nordika is one I love, and I had originally thought to make curtains of it, but that never worked out. So happy it found a home at last. Have a great week and I will talk to you soon.

Thursday, January 18, 2018

Back at It

Well, our guest has gone and the sewing room is once again, the sewing room. I did manage to make quite a bit of progress on the Penny Sampler Quilt though. I will show it to you soon. I would say I am 3/4 finished with the quilting on it.

Today, however, I worked on piecing the backing for N's quilt. First thing I did was to pull a bunch of fabrics, in various sizes. I laid the quilt top on the floor and arranged the fabrics on top, like a puzzle.

These are the fabrics I used. I took them outside to photograph for you so you could see the true colors. I had the three patterned fabrics and these 4 shades of purple.
 This is the fabrics, just lying on the floor before I sewed them together. I wanted a sense of whether they would be enough for the back and how to fit them together.
 And this is them, all sewn together and ready to quilt. I am thinking I will get the batting out and pin baste next week, but I am so happy to have this step done. I even know how I am going to quilt it.
 This next quilt is a WIP that I started back in 2015. When I was at home, during the time I was doing my cancer treatment, Rachel at Stitched In Color was doing this sew along. It is a quilt as you go project, which I had always wanted to try. I also have long wanted a clam shell quilt. I got all the clam shells cut out, and I even sewed a few rows. But as I felt less well, I sewed less and less until I didn't sew at all. For months.  I picked it back up and did a few rows, once I began sewing again, but still no finish.

If you look closely at the two pictures above, you can see how difficult it was for me to get perfectly rounded edges. But the point of this was to learn the technique, and I hope I will improve. This quilt is not quite half finished.
 Here are all my neutral colored clam shells. I did have to press them a bit after all this time.
 And here are my colored clam shells. I cut some form yardage, but most all of them were either from scraps or 5 inch charm squares. There are not too many duplicates in here.
I found these two in the bag. They are starched and pressed and ready to sew on. And that's part of what is taking so long. I have to starch the edges and press under a quarter inch using a cardboard form. Then you pin on a row, and sew. Then you do it again, and again and again. I am determined though, that this will be the year I finish this quilt. Three years is long enough. I hope to be able to show you some real progress soon. I have already sewn on another row this afternoon. Talk to you soon.

Friday, January 12, 2018

A Friday Update

So I said I would show you what is going on with my Penny Sampler Quilt. I finished piecing it in December and got it pin basted. I am hand quilting it with big stitches in Pearl cotton size 12. There were just too many elements for me to wrap my head around doing it on the machine, even though it's faster that way. I mean, it took me 12 months to make, why rush the quilting.

 I took the quilt out back in the shade to try and get good shots of the stitching. I am using many different colors of Pearl Cotton. I am letting each section speak to me and trying to give it what it needs. I feel like so far, some success and some, not as much. But I am enjoying the process.


 Some are pretty easy to figure out, but others I keep looking at and I got nothing! It will come in time I hope. The steam on this cup is one of the ones I really like.
 Some stitching is hard to see with the camera. There is stitching around the petals in this flower block, but they don't show too much.


So pretty much that's it for now. I will be working on this for the next few days, and new machine sewing until our guest leaves next week. I hope you have a great weekend. Linking up with Amanda Jean at Crazy Mom Quilts. It's not a finish, but I am celebrating anyway.

Wednesday, January 10, 2018

Wednesday WIP-Done!

I have finally finished the quilt top with the No Point Stars pattern by Allison of Cluck Cluck Sew. What a great pattern and my quilt top would have be done so much faster, except I decided to sew together all the HSTs an use them for sashing. Well, turns out that didn't work out. There weren't enough of them. And I didn't have enough extra fabric to just make more. So I went to plan B. But I had to come up with Plan B first.

 The first Plan B that I really liked was to change and use this bright green for the sashing. But, my sister didn't think it worked and when I showed my daughter, she said "what else do you have?"
 So I pulled out these two purples. One is marbled and red violet and the other a dark purple that leans more towards blue. She didn't like either of those. "Got any grey?" Yes, it turned out that I did have about half a yard of grey. It was just barely enough, and I got to use my bright green as the corners.
 And here it is. I am having trouble getting true colors indoors. It has been rainy and windy here, so maybe tomorrow. But it is done.
 I used the HST strips for the outer border. I love the way it turned out and yes, I know the contrast is not the best on some of the pieces, but it's for a two-year-old so I think it's fine. And I like it too.

 Now I just have to piece together a back for it so I can pin baste it. I already know how I want to quilt it. But for now, this project goes back burner for a few days. My sewing space doubles as a guest bedroom and we have a guest coming, so I will need to pack everything up until next week.
 But that's okay, because I am hand quilting my Penny Sampler Quilt with Pearl Cotton and I still have quite a ways to go on that. I will show you some pictures of the progress next time. Until then, Happy Wednesday.

Friday, January 5, 2018

She Said No More Quilts

My oldest daughter told me awhile back that she needed no more quilts. Now, that's just crazy talk, I thought. But for awhile, I made her and her family no quilts. I sewed clothing instead and I did enjoy that a lot. But then, one day I saw this on line and I was a goner.
This is Front Yard by Sandra Clemons for Michael Miller. Now there was a bundle on sale and so I bought it, along with a bit of extra yardage of two prints, knowing that this was destined to be a quilt for Miss N. She is the youngest grand baby and only has a few baby quilts to her name as well as one bed size quilt. And she is a purple girl too.

I wasn't sure what to make exactly, but I knew I would fussy cut these birds for the center of the blocks. Then, Allison of Cluck Cluck Sew shared a pattern for no pointed stars and I knew that was the one. This is such an easy quilt block to make. I decided to make 30 blocks originally, but then found I didn't have quite enough fabric for 30, so 5 x 5 blocks it was for a total of 25.
This is a shot of most of the blocks. My design wall isn't quite wide enough to fit them all. I just put them up there as I went, and this is not the final arrangement, but you get the idea. I knew I wanted to add sashing of some sort, but what?
 In an effort not to waste the scraps, which I often just toss in the trash, I sewed all of the cut HSTs that were trimmed away. This went pretty quickly, despite the fact that there were, 200 pairs of them. Chain piecing is your friend here.
 Then I pressed all the seams open, to reduce the bulk in them since they were so small.
And of course I had to clip off all the little flags that were hanging off at the opposite corners. So happy this part is behind me now.
 Now I have begun sewing them together in strips like the orange one above. My plan is to use them as sashing between the blocks. Before I do that, I need to get all the blocks squared up at 12.5 inches and get all my sashing strips sewn together.
This is approximately how it will look. I have a dark grey that I will use for the corner pieces in between the sashing strips. I don't think I have enough to go around the outside edge of the blocks, so that will be another adventure to figure out, once I get to that point. The goal is to get this done ad quilted by spring break when I go to visit so I can take it with me and give it to her.

Have a great weekend and I will see you back here soon. Linking up with Amanda Jean at Crazy Mom Quilts. Finishing 25 blocks and 200 HSTs qualifies as a finish in my book.