fabricologist

fabricologist

Friday, October 26, 2018

Seams to Me

I am working on some secret sewing right now, and trying to get started on my Christmas sewing, so I don't have a lot I can share here. But I can use a couple of pictures to show you what I have been thinking about. 

When you sew blocks together for a quilt, how do you press the seams? Do you press to one side? Do you press them open? Do you do a little of both? Press to the dark side if there is one? There are many different answers here. I do a little of both, but, I am thinking about changing my ways and here is why:
 This is the back of one of my blocks. As I sewed each seam, I pressed it to the side. I used a good bit of steam and then pressed the entire block again when it was finished.
You can see here, in spite of my best efforts, this block is not as flat as I would like it to be. I did 15 blocks like this and you can see that there are so many seam that overlap, it is hard to keep it flat.
 This is the very last block for this quilt top. I decided to experiment with it and press every seam open on this block. This is obviously the back, but I think it looks much better.
You can see here the seams lie much flatter than the other block, especially where so many seams intersect. This is clearly the best option for blocks with lots of intersecting seams.
 One more comparison for you. This is a close up of the top side of the two blocks. Here, you can clearly see that this block is not lying very flat.
And here you can see a much flatter block on the top side. I was not really surprised by this. A part of me knew it would be so.

I think the main reason I don't press seams open all the time is that I am lazy. It takes a wee bit more effort to open the seam and run the iron through it, than to just press it to the side. And I think I also thought it slowed me down in my piecing. But, it really didn't take me any longer to press seams open in the last block, than to press to the side in the other blocks. I probably used less steam too.

So, that's my lesson for today. What do you think? Happy Friday!

Tuesday, October 16, 2018

Hello October!

Sorry I have been out of touch for awhile. I spent the last week of September and the first week of October in North Carolina with my kids and grand kids. Then, when I returned home I had some medical stuff to take care of. But I am back in the saddle now and sewing most days, in some fashion or another.
 I finished up the 100 Days 100 Blocks challenge on Instagram. I really loved making all those blocks and posting each day. In fact, I kind of miss the having to post a picture a day over there. Never thought I would feel that way.
I am sort of leaning towards this, or a similar arrangement of these blocks for the finished quilt. I have a bunch of other commitments so it may be awhile before I get to them. I have made a list of all the sewing I need to do and some of the things have deadlines. I have plenty to keep me busy, that's for sure.
 It's m y favorite time of year for cooking and baking too. I baked these two loaves of bread yesterday. They are so yoummy!
 Then there is this pear and oatmeal breakfast bake from the new Smitten Kitchen cookbook. This is a very tasty recipe. I am cooking a bunch of recipes from that new book these next few weeks. It's been awhile since I had so many recipes I wanted to try.
And I bought a couple of pie pumpkins and roasted them for use in baking. These are a few of the seeds, I am drying them out and giving them to my daughter in NC. They have a large yard and I thought maybe they could try and grow some next year. It would be fun for the kids.

So lots going on, and I will try to show you pictures when I can, of the things that are not surprises for people. Happy fall. Enjoy the weather. Talk to you soon.

Monday, September 17, 2018

Bloggers Quilt Festival-Fall 2018 Edition

Hi there friends. I haven't participated in the festival in the past year or two. But I felt like I could do it this year. I decided to go back into time and select a quilt that I especially loved, that was part of a blog about some Christmas gifts from about 6 years ago.
I made this narrow bookshelf quilt for my son-in-law. At the time, he was working on his PhD. I am happy to say that since that time, he has completed his thesis and defended it and is now a Dr. of Literature. So maybe you can see why I chose this particular quilt for him.
I used a jelly roll of Basic Grey for the books. To me, each one looked like it could be the spine of a book and the width was perfect for this.
I used selvedges for the titles on the books. I remember going through all my fabrics, looking for names that looked like they could be book titles. That was fun, actually.
And then I put this sweet little typewriter on the bottom shelf. I know the scale isn't perfect, but to me, this says doctoral candidate.
This, to me, was the icing on the cake. I found this stitching pattern on line and knew for a wordsmith, it was perfect to be the top of the book shelf. I remember stitching and stitching to get this done so I could assemble the quilt. The lines from Edgar Allen Poe still get to me. I remember reading him in high school.

The background of the shelves was quilted to look like bead board. I was so happy with this finished product and My daughter hung it up for her sweet husband. They have moved several times since then so I am not sure where it resides right now, but I am going there soon to visit, so I think I will ask.
Have a lovely week and I will talk to you soon.
Linking up with Amy's Creative Side for the Fall Blogger's Quilt Festival. Go take a look at all the other beauties and visit the bloggers.https://www.amyscreativeside.com/

Thursday, September 6, 2018

Teeny Tiny

Have you ever gotten a bee in your bonnet about something and couldn't rest until you tried out your idea? That was me. I somehow got it into my head that I wanted to try to make a tiny little block, maybe to use as a pin cushion. I finally selected one and drew it out. Today I sat down to sew.


While I haven't been the biggest fan of paper piecing, I can truly see it's value as a skill set now. It has enabled me to make something I wanted to try out, instead of getting frustrated by the tiny size. I will be back to show you what I will do with this, as soon as I decide what that will be.
Talk to you soon.

Wednesday, September 5, 2018

Sewing With Knits

Have you ever sewn with knits? I have, but just a little bit. Most of the time it has been successful. Just recently, though, i decided to make myself a nightgown of knit. I used the Gemma Tank pattern by Rae.
This is the final product. The original final product was a shirt tail hem that hit mid knee. I loved it. It was perfect. But I didn't pre-wash the fabric. I should have. The knit shrunk a good 4-5 inches in length. The width didn't shrink more than an inch, so that was fine.
 So I took the leftover fabric and washed and dried it to shrink it. I had one long piece going vertical and a bigger piece going horizontal. I pieced them together to add to the bottom of the nightgown.
I pinned them in a (fairly) straight line under the gown, just above the shirt tail hem, leaving it loose on the outside. It looks like a little flap of fabric. I haven't hemmed the bottom yet. I want to wear it a couple of times and wash it again before I do, just to be sure.
 Even after the wash and dry, the under arms were a wee bit droopy. I can live with that, but I am going to make another one and fix the problem.
 I think it stems from not doing the darts. I should have taken it in a bit more than I did. I will the next time. And I will prewash and shrink my fabric first.
The last little bit is this "label" I stitched into it. This is just to help me to easily find the back of the gown. It works great for that. So tell me, have you ever sewn with knits? Any tips?

Talk to you soon.

Saturday, September 1, 2018

Kingfisher Quilt

So, finally, my Kingfisher quilt is finished. Totally finished, washed, dried and spread out on my bed where I can just stare at it.
 Yesterday I finished the quilting of it. I quilted it on my Bernina 440 QE. I used my walking foot and quilted along either side of the seams between the diamonds, and then I quilted 3 lines in each angled direction through the center of each hexagon. I messed up in the second row I was doing and spaced the lines too far apart. Rather than pick out all the stitches, I incorporated that into the design and did wider lines in every other row.
And then I bound it. I used the umbrella print from the Charleston line that I had used for the borders. I wanted a dark blue, and then I remembered I had this print and plenty of it for a change. So that's what I used and I am pretty happy with it.
 Here it is, all crinkly from the dryer. I love the amount of crinkle it got. Not too much in the center, but plenty around the border.
 I set my machine to do a wavy zigzag line for the borders. Amanda Jean at Crazy Mom Quilts showed this on one of her quilts one time, and I loved it. I have used it a couple of times. This is the first time I've used it like this, but I love the look of the border.

 Not all the stitching is perfectly centered, because when I appliqued the hexie flowers onto the diamonds, I just eyeballed it. Probably should have measured it to make sure, but, oh well.
 I had two chunks of red fabric in my backing pile. Both were two yards, so I chose the stripes for the biggest part and used half of the width of the circles for the rest. I think it worked out great.
And there we have it, all done and labeled. Have a great Labor Day weekend. Talk to you soon.

Wednesday, August 29, 2018

Tea, A Drink With Jam and Bread

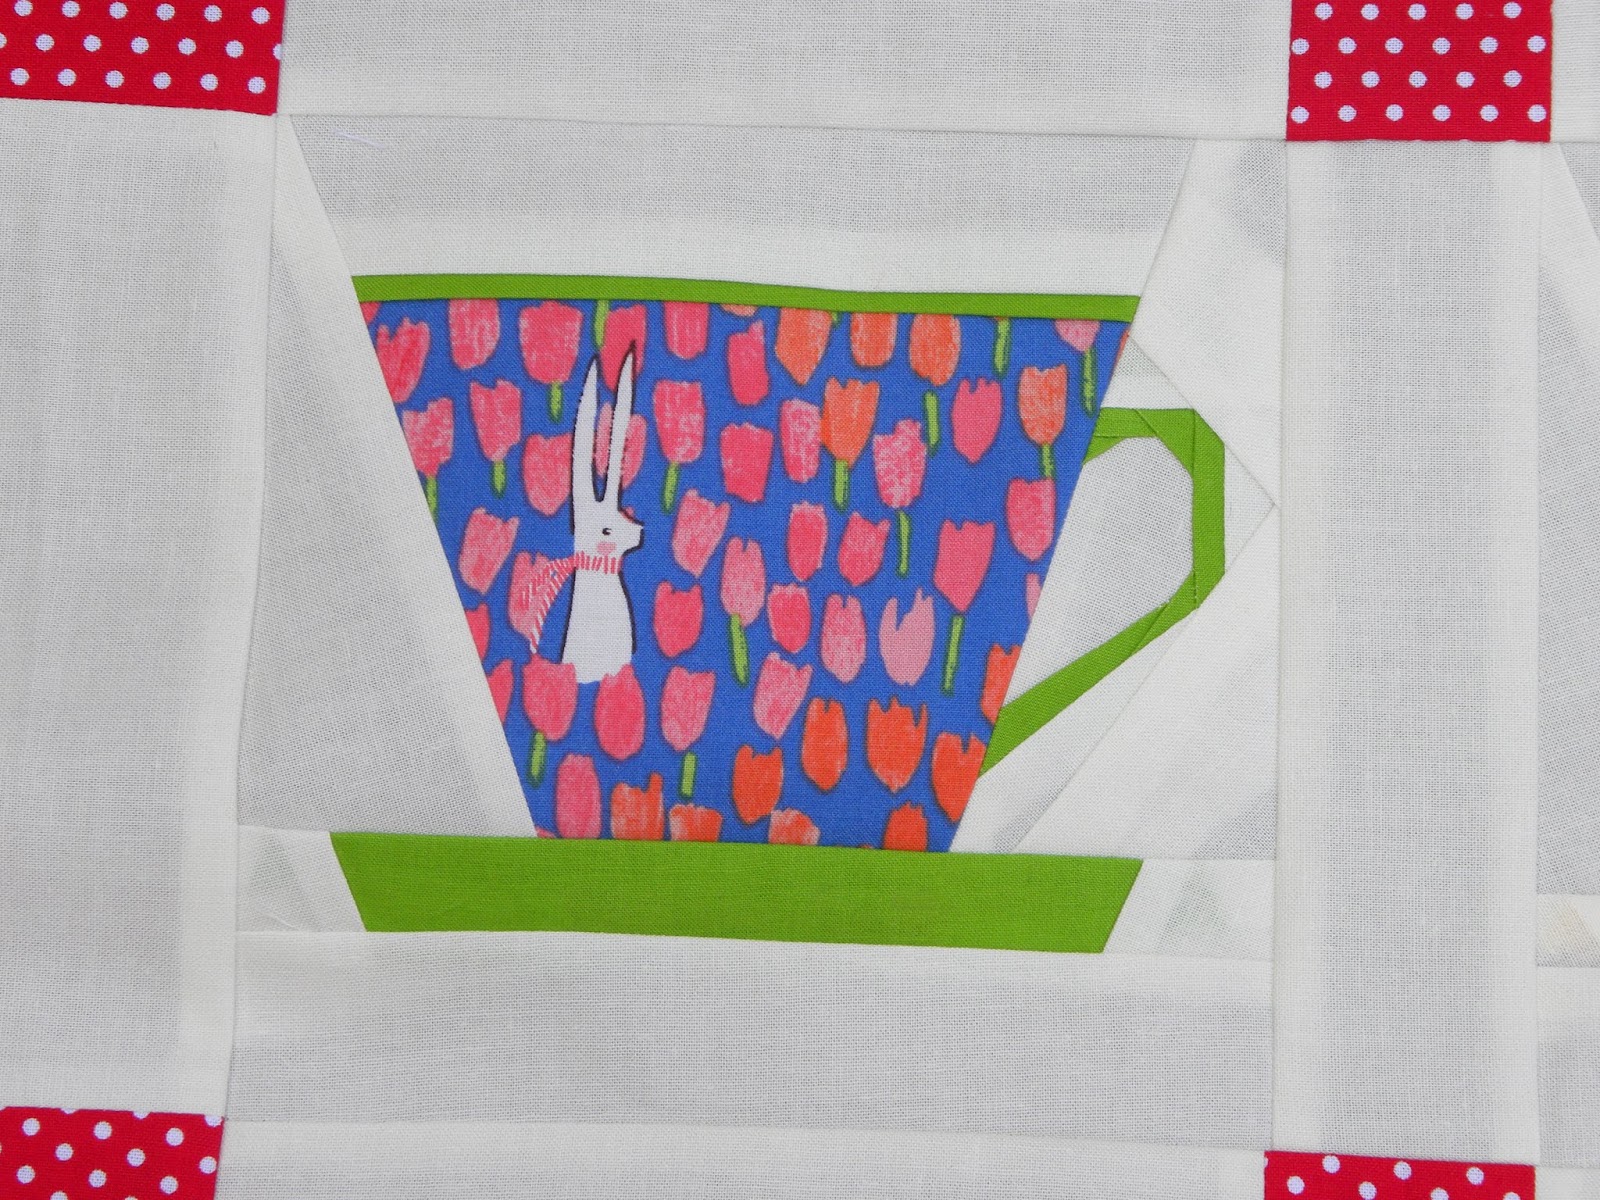
In a previous post, I talked about a special quilt. It is for my sister, who doesn't read this blog. So I can share it here with you. She collects teacups. She has quite a few and they are lovely. After doing the Penny Sampler Quilt last year, I got the idea to make a small wall hanging of the paper pieced tea cup in 9 variations for her. I started it, with the intention of Christmas. This week, I finished the top.
The tea cups finish at 6.5 inches and I added the sashing to spread them out a bit so each could shine on its own. I decided it needed a pop of color, so I added the cornerstones in the white dot on red. I need to come up with a back, but I think I know how to quilt this. I will wait until it's done to choose a binding.
Here are close ups of the individual tea cups:


I am very please with the outcome. I know she will love it. Have a great rest of your week friends. Talk to you soon.