fabricologist

fabricologist
Showing posts with label blog hop. Show all posts

Friday, February 7, 2014

Don't Let the Door Stop You! Last Day

Let me first say that this has been a wonderful hop. Madam Samm , I don't know how many more great hop ideas you have, but I hope it's a lot. This one has been such fun. And Carla, you are just the best cheerleader and a darn good doorstop maker yourself. All while keeping two hops running smoothly. Thanks ladies!

As soon as I heard about this hop, an idea popped in to my head. This is North Carolina, after all, so I had to make a lighthouse.  I started with this:
 This is a very heavy bottle that once held either German wine or beer. It is full of sand and was once made into a lamp, but now just has a cork in it to hold the sand in. My husband has had these since before he met me.  And I have used it as a doorstop, but now to dress it up.
I took some muslin and sandwiched some batting in there, pinned on some black Kona and got to stitching. Sadly, I did not photograph the rest of the process for you.  But, moving onward...

 I pebble quilted the base in white so it would look like it was made of stones and the black areas are pebble quilted in black.  The light is made of a rectangle of muslin, quilted to look like rectangular windows and the roof  I used black on top and brown in the bobbin to quilt the shingles.  The brow looked better, so it became the top.
 The sun hasn't been out here much in the last couple of weeks, but I finally had some rain free time with high clouds to photograph outside.
 Here you can see the roof and the light a bit better. the light is resting on a platform made of felt covered cardboard.
Happy beach days to you...well, maybe soon. Now hop on to see the rest of my friends creations.

 GrammieQs

Pickles Quilting

Made by Me in Red
 
A Passion for Applique

Living With Purpose

Tipsy Teacup Creations

Sew We Quilt


Monday, January 20, 2014

My Turn to Wake Up to Kona

I have been very eager for this day to arrive. I am loving this hop so much. When Madam Samm announced this one, I thought "YES!" It was the excuse I needed to be able to make a project using all Kona Solids. When she posted the pictures of the bundles of Sunrise and Sunset, I knew I was in love with the Sunrise. Maybe because I am a morning person. But anyway. I began to get the beginning of an idea from that first day. I ordered a Kona Sunrise jelly roll and so my project began.

The first thing I did, after looking at the beauty, and of course unrolling it, was to sew all the strips together in the order they were rolled. This is the result. Then, I knew I wanted to put one small silhouette on it, but what should it be? I turned over many possibilities in my head.  And settled on this:
Now this next part is lots of pictures...

 I quilted the sun's rays from the center up. I quilted wisps of wind by the dandelion and a few hills near the bottom in the green grass.
Carolina blue sky.


Bound in grey.


 This last picture is Sunrise Sunset, after it slid right down the rock! I hope you enjoyed my quilt. I have a couple more ideas to try with Kona jelly rolls, once I am off this fabric fast.  Many many thanks to Madam Samm and Carol for this wonderful hop. I can't gush enough about what a great job they both do.  Now hop on to see my fellow Kona sewists.


January 20
                                                                Sew Incredibly Crazy


Tuesday, September 10, 2013

Sew Let's Pin It

Today is the first day of the Pin It blog hop. I have no doubt that this is going to be one of the most fun blog hops yet. Pin cushions!! Thanks, once again to Madame Samm for coming up with such a great idea for a hop. Kristin at Meadowbrook is our head cheerleader for this hop and she is doing a great job keeping us all up on what to do and where to be.

So without further ado, here are my submissions for today's hop:

 I have been wanting to make a strawberry for some time now. this one is stuffed with polyfil only, so is quite light weight. The black "seeds" are pins stuck in all the way.
 A loop of green ribbon for the stem, also gives it something to hang up by if so desired.
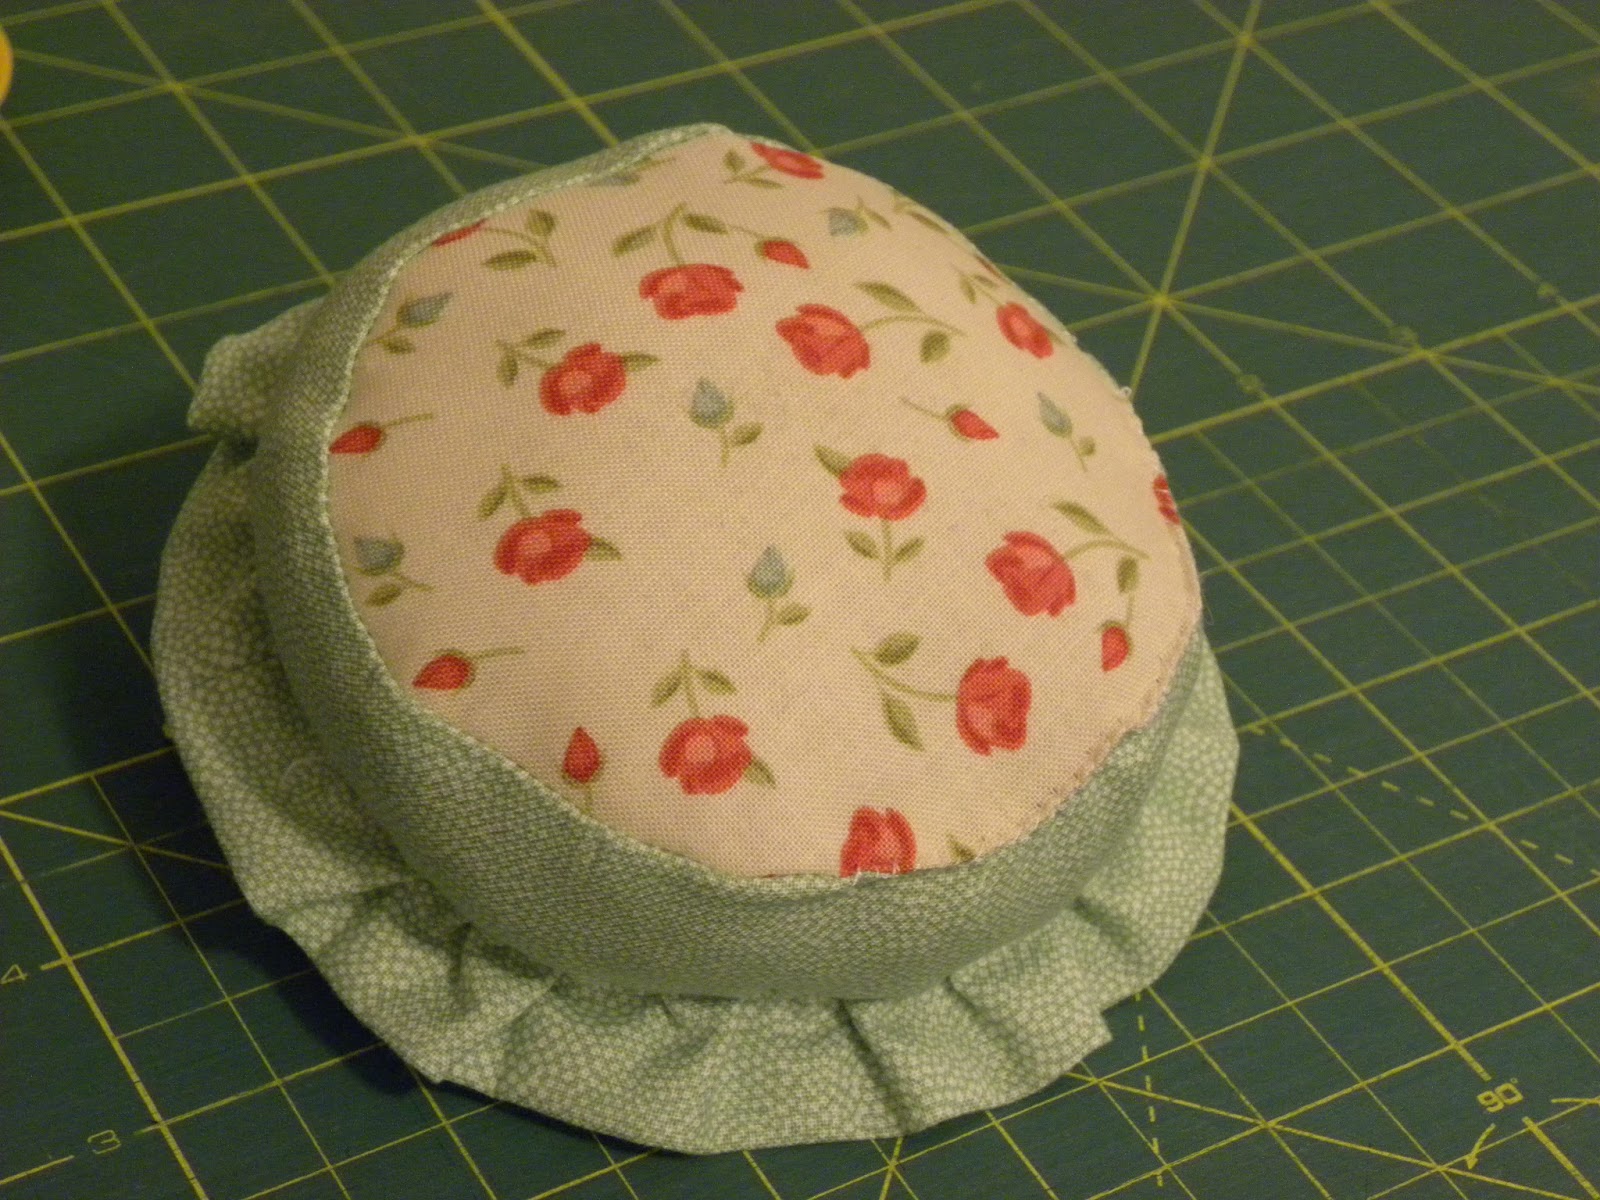
 I also wanted to make something sweet and delicate. I found a couple of layer cakes and went through them to find this sweet floral and the pale green. Taking a page from Madame Samm's book, I fashioned a ruffle. This too is only filled with polyfil.  The small flower and leaf pins I made with clay and then baked them to harden.
       This is the bottom. Not really flat, but it sits quite nicely anyway.
                                  One more shot of the sweetness.
 Now this one is my favorite. I am a baker by profession and I wanted to make something that was out of the ordinary and reflected my baking. I thought of cookies and cupcakes, but all those food items have been done.  So I made a stand mixer! I put dried beans in the base to give it the weight to stand up. The numbers are a selvedge and a pin for the switch.
 I took some jewelry wire to make a whisk for the bowl and stuck a strawberry pin that I made on top of the bowl.
 My daughter was teasing me that from this angle it looks like a dinosaur. Well, I guess it kind of does.
But I still love it anyway.  And this concludes my show of pin cushions. Go check out all the other ladies who are on for today. And thank you for stopping by.
A very large and gracious thank you to everyone who stopped by and looked or commented on this post. With almost a hundred comments, I can not reply to all. I am so happy that my work was so well received and brought smiles to your faces.

September 10
Meadowbrook

Tuesday, July 2, 2013

I'm Putting My Stamp on It!

Welcome to my day on the stamp blog hop. Sew many thanks to Madame Samm of Sew We Quilt and Thearica of Pig Tales and Quilts for being such great cheerleaders for us. This has been such a fun hop. I love the ones that are sew different like this. Sew here we go.  I immediately wanted to do something rainbow, since I love rainbows.  The first thing I did was sew some strips together for a background.

 Then I had to think of something to applique onto it. I stared at it for several days before I thought of this...my car. I love my little yellow VW beetle. So I found a line drawing of one on line and used it to make my applique.
 There is no particular reason I chose 5 cents for the stamp price. It just came to me. I used my wavy rotary cutting blade to get the white edging for the stamp.
 In retrospect, I should have lined the beetle so you can't see the stripes behind the car. Oh well...

 And after I fused everything on the stamp, I stitched around all the car parts with yellow thread for the body and grey thread for the wheels and windows.
There you have it, my stamp. I love it so much, but I am going to send it to my sister-in-law, Sally. She too has a yellow beetle that she loves and yellow is also her favorite color. So off to Vermont it goes.  If you are keeping track, this is post 199, so my next post will be 200 and will have a special giveaway. Look for it on Friday.

Now go and visit all the other lovely stamp makers today.

July 2

Sew and Sow Farm 

fishkopp

Scraps of Life

Meadowbrook

Katie and Kwilts 

Em's Scrap Bag  

GrammieQ's

How ART you?

BumbleberryStitches

A Stitch in Time

Friday, May 10, 2013

Today, It's for the Birds

I have been so enjoying this blog hop. I really wanted to be a part of it, as I just love birds. We have lots of bird feeders in our yard and I can just sit and watch for hours.  A great big THANK YOU to Madame Samm for coming up with this great idea and another to Mary for being such a great cheerleader and helping us to stay organized.

When I first though of my idea for a project, it just popped into my head, pretty much the way it turned out.

 I knew I wanted to do raw edge applique birds and I wanted them to be 4 different ones, sitting on a branch. I drew templates for the birds and just free cut the branches. They sat that way on my table for days while I tried to decide what else to do with them.
 I love the cardinal and the bluebird. I had never seen a bluebird until I move to NC. The color of them is indescribable. We have lots of cardinals in our yard as well.
 The little grey is my attempt at a robin and the yellow one reminds me of the finches that come to one of our feeders. So bright and beautiful. After I got the details on the birds, I decided to add a few leaves to the branches. Then I quilted all over swirls.
 The back is a last chunk of a leaf print I bought about 8 years ago. Perfect! I wasn't sure this was such a great effort, but the more I look at it, the more I like it. I am going to California in a few weeks to visit my sisters and I think this is a perfect gift for my youngest sister. She paints beautiful birdhouses. So to my other sis who reads this blog: Sshhhhhh, it's a surprise.
Thank you for stopping by today. Now fly off to visit all the other wonderful ladies and see their projects. I know you will love them all.

Friday, May 10


Have a great day!


Tuesday, February 19, 2013

It's All About Me

Time now for another fabulous blog hop cooked up by Madame Samm and cheered on by our wonderful cheerleader, Marlene.  This is a fun one, folks.  Amy Bradley came up with this fun pattern and we all are going to make it our own.  Each one will be similar, yet different and individual.

Here is my lady:

 I have to smile whenever I see her.  She just cracks me up with her crazy hair and her know-it-all stance.  I had to make her dress yellow.  Anyone who knows me knows it is my favorite color. Even my car is yellow.
 I tried to do the words on top on the machine, but I didn't think it showed up too well, so I ended up hand stitching with embroidery floss.  Her glasses are red, because mine are a sort of metallic red. That was my hubby's idea and the shape is more like mine as well.  The grey streak in front of her hair is again, just like mine.  My hair is also short and kinda crazy.
 When I got to the pin cushion, I had this piece of fabric with the little bird and it was just right.  I used beads for the pin heads.
 The blanket stitch on my machine was new to me.  Never used it before.  Luckily I started on the dress and got my confidence going.  The letters were much harder to do because of all the turns. It actually looks better here in the photo.
 I also gave her beads for earrings, since I also were earrings most of the time.  I used only fabric and embellishments I had on hand.  Then, I decided to make her into a little pillow.  I love how it seemed to give her even more personality.
                This bright  and crazy strip seemed just right for the back.
And here she is again, in all her glory.  Thanks for stopping by to visit.  Please be sure to go visit all the other blogs and see how everyone else has interpreted this gal.  Here is the list of today's blogs:

Tuesday, February 19


Wednesday, January 9, 2013

In Your (My) Words

I am loving this blog hop so much.  Unlike any of the others, which were also great fun, this one has more variety of interpretation of the theme.  These creative people are all over the place.  If you haven't seen them all, I urge you to go back and do it.  You will be amazed.

Here is my submission for today:  When Madame Samm came up with the idea of the words theme, my very first thought was to think of words that describe me by what I like to do.  Then I quickly thought of making the words pictures...sort of.  I wanted something I could quilt, so applique came into it.  This is the first sketch on a post-it note at my desk.


Next I had to figure out how to transfer this into fabric.  I changed some of the drawings, and I fiddled with it a bit and this is what I came up with:

 I changed books to READ and made it into a book.  And my husband, who was watching me stitch said "what about me?" I asked if he wanted me to put his name on there and he said "No, but how about Family?"  So there you go.
 I love this one.  I made a tiny patchwork quilt for this and appliqued it onto the tail of the Q.
 I used text fabric for my book and embroidered the letters and the pages onto the book.
There's my family, who are all very important to me and who I am.  And you can't really tell, but the needle is grey with sparkles in the fabric.

The music and the muffin that says bake are also a part of who I am.  I think this turned out great.  I have put it in my sewing room where I can look at it all the time.

Now that you've seen my words, go on and visit all the lovely ladies on the rest of today's hop and enjoy the words.  Here is the rest of today's lineup:
Wednesday, January 9
Kathy's Quilts (Kathy W.)
Sunshine Quilting (Martina S.)
Grammie Q's (Charlotte M.)
Dancing Moon (Carla B.)
Many thanks to Madame Samm for another great idea for a hop and to Linda at Buzzing and Bumbling for being such a great cheerleader.  Couldn't do it without you ladies.
Edited to add: Thanks for all the kind comments.  I appreciate you taking the time to look and leave a comment.  GrammieQ


Tuesday, November 6, 2012

U R Priceless...indeed!

I love the name of this blog hop.  Very catchy!  If you missed the first day, click on the button up on the right and you can see Monday's schedule.  It is worth a look.  They are awesome.  These little coin purses are so much fun to make and I knew one wouldn't be enough.  Here we go...

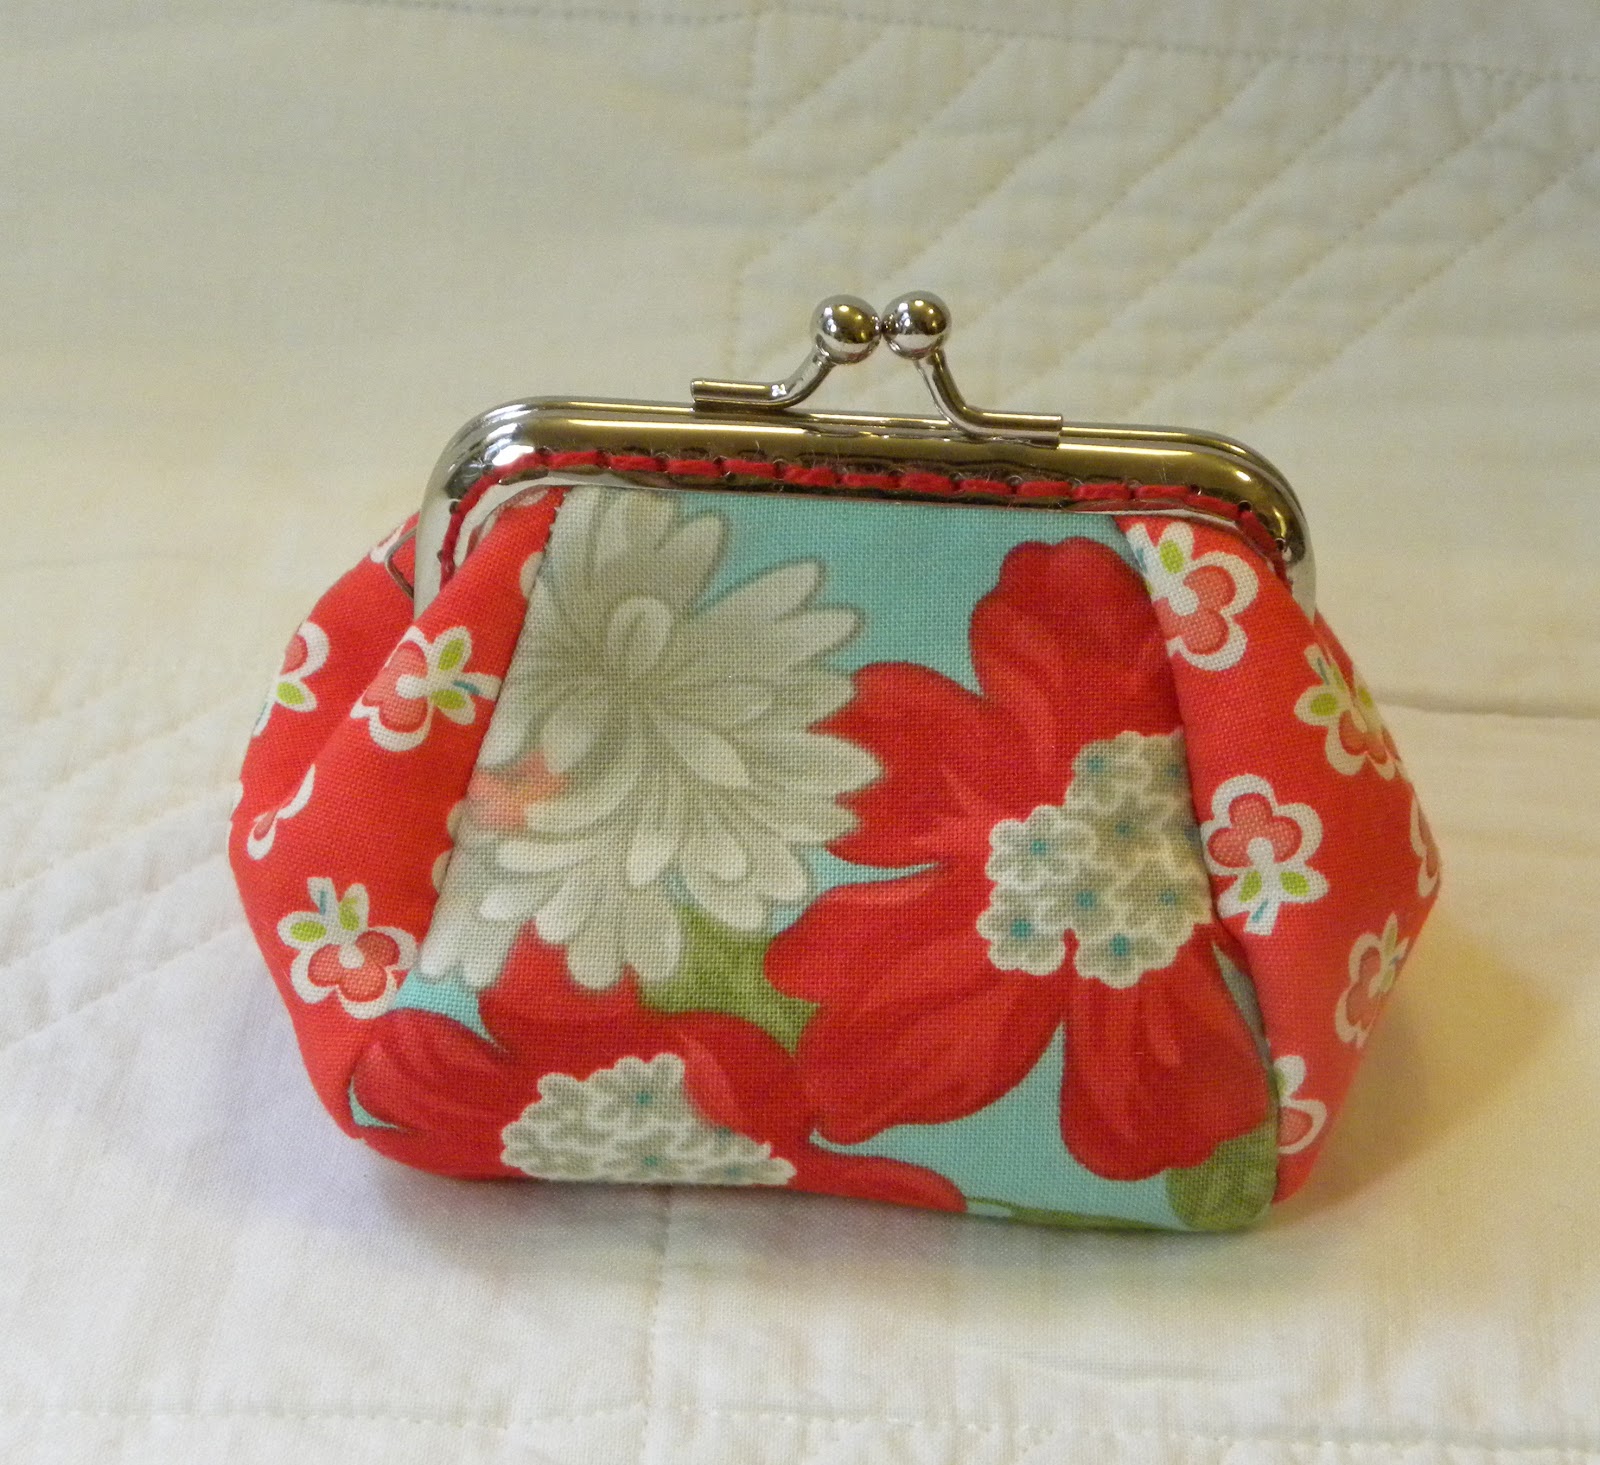
 This was my first try.  It was sew easy, almost too easy if you know what I mean.  I used Vintage Modern by Bonnie and Camille.  I love that line.  I fussy cut a bit for the front and back and stitched the top on with red Pearl cotton.
 I am very happy with the way this one turned out.  The red print on the sides is one of my very favorites in the whole collection.
 I lined the inside with the pink hounds tooth check.  You can see a bit of the stitching inside.
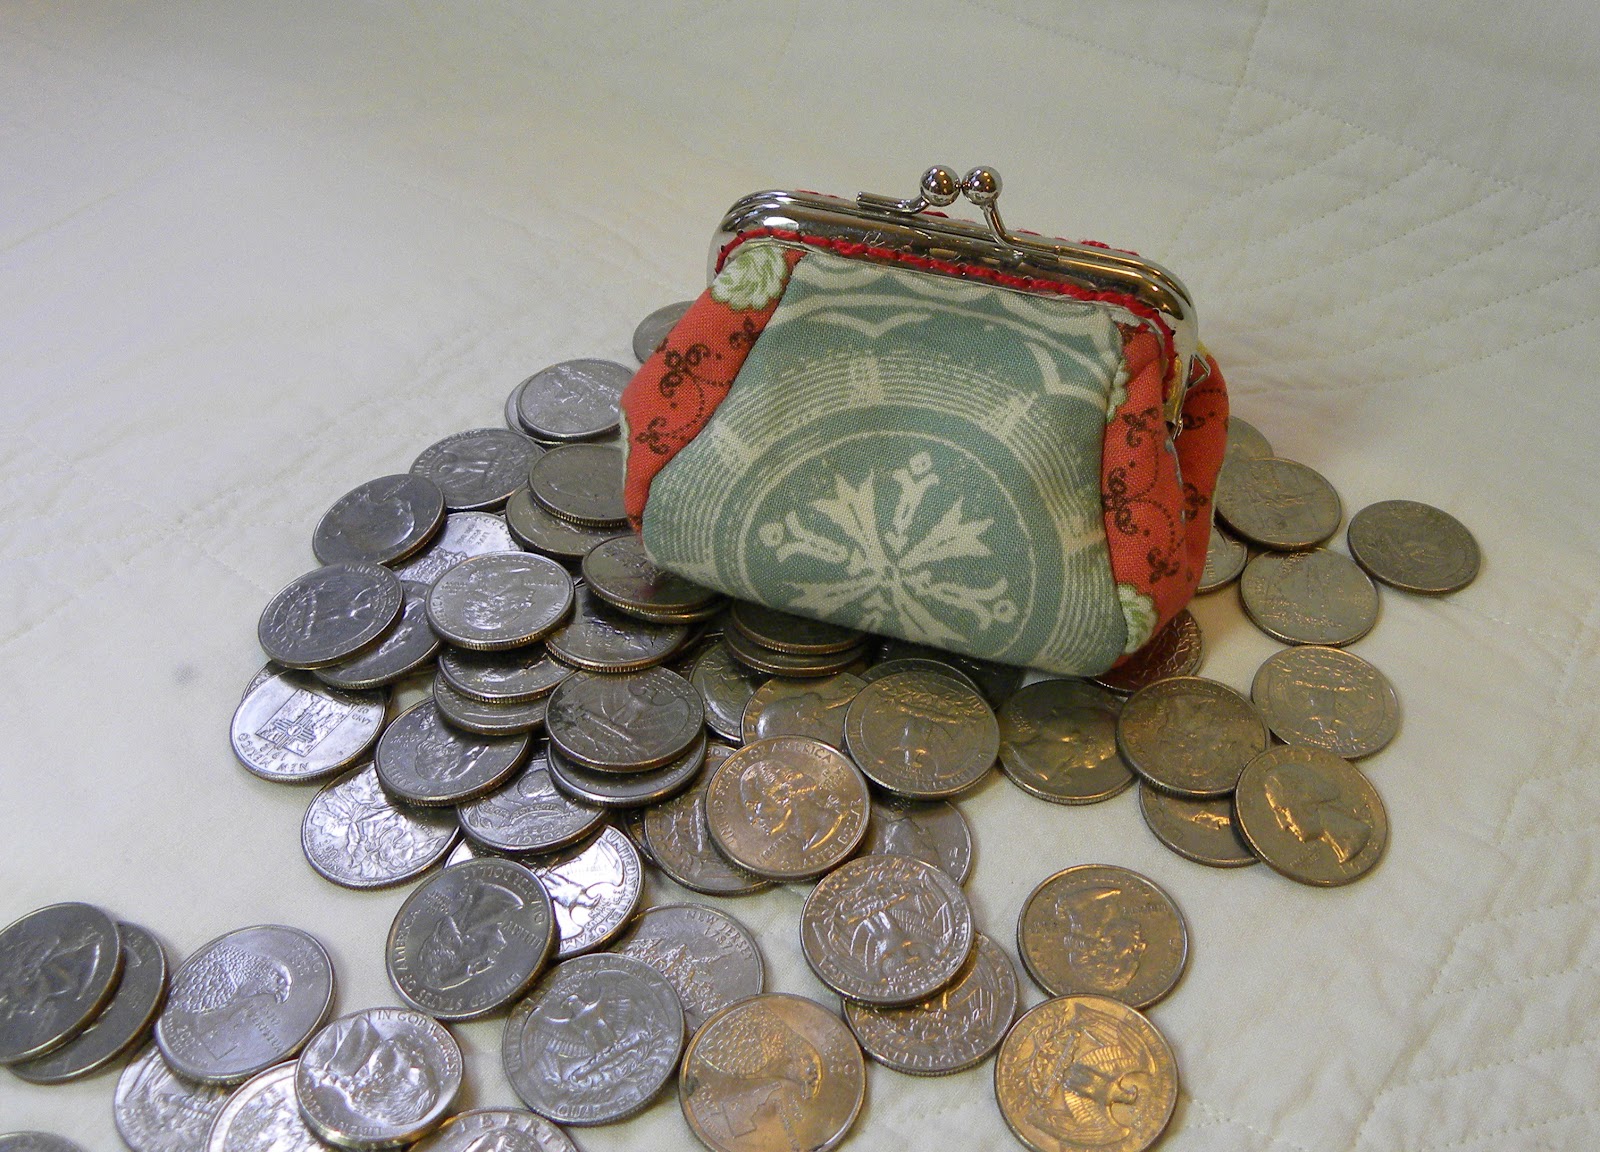
 And it is a coin purse after all, so I wanted to see how it performed.  Pretty good, don't you think?  You would be amazed at how many coins it holds!
 This is the second one I made.  I used Odds & Ends by Julie Comstock.  I love the fabric, but I didn't like the way it turned out as much as the first one.  I think it seems washed out in comparison.
 And I tried crimping the top a bit to help hide the stitching inside.  It didn't really work.  It only made the clasp not really go together very well.  So that one was a bust.
 But I couldn't stop there.  I had a charm pack of Oh Deer!  I love these little tiny deer!  I cut the front, back and sides out of 4 different colors.  I Love this one too.
Here is the other side.

 For the inside I used bright orange with white dots.  I am still in love with polka dots.
And yes, I had to put the coins in this one too.  In case you are wondering, this is a handful of small change topped with 2 1/2 rolls of quarters.  I had it in my head to photograph this way and I must say, it is about as I imagined it.  Such fun.  I still have one more frame, but haven't decided what fabric to use on it yet.

Now go and see all the other wonderful coin purses today's fabulous ladies have made.  Thanks to Madame Samm and Katherine for another great hop.  It is truly a joy to participate in these.  Here are the other Ladies for today:

Day 2 - Nov.6th

The Crafter's Apprentice
Jane's Fabric and Quilts
Rosemary B
Why-Knot-Kwilt
Random Thoughts..do or "di"
Mary T.
Supermom No Cape
Lily Pad Quilting
.Quiltscapes.
Stitch, Stitch, Stitch
Rose Creations
The Treehouse
Gracie Oliver Arts
Quilting Prolifically
Stekje
Grammie Q's (you are here)


See you again soon.